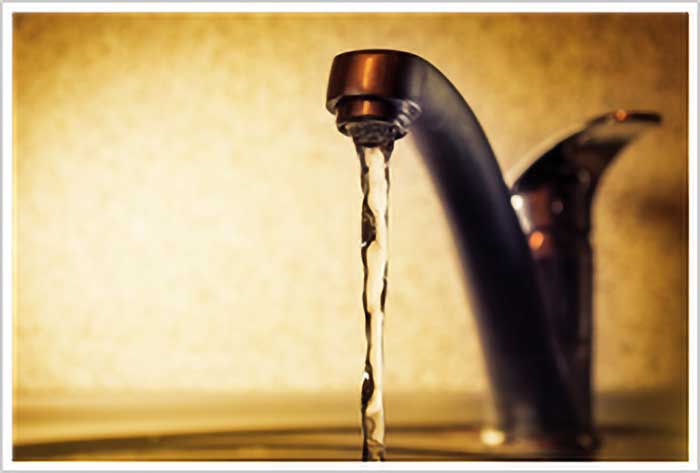
It can never hurt to call in an expert for even the smallest plumbing problems before they grow into disasters, but if you have the right equipment about you, you may be able to repair a leaky faucet yourself. The steps you’ll need to take for a DIY repair will vary according to the model of your faucet. If your faucet has a ball mechanism to regulate the flow of water, then this is the article for you.
Quick Fixes for a Rotating Ball Faucet
First, you can see whether or not the leak is due to a couple of loose caps or cap-adjusting rings. Usually, if you tighten the cap, this should do the job; the majority of leaks come from the handle or spout. If your faucet is still leaking, then you may need to conduct a repair job.
Repairing a Rotary Ball Faucet
This project begins with a tool-gathering process. Here is what you’ll need:
- Hex wrench
- Screwdriver
- Silicone grease
- Utility Knife
- Replacement faucet ball (should be a metal one)
- Brand-specific repair kit
When you have all the required tools ready, you can turn off the water valve under the sink, and then you can turn the faucet on until no more water is coming out. Then you’re ready to take apart your faucet. Loosen the setscrew with the wrench, then you can take off the handle and unscrew the cap with a rag. You will next have to take out the cam assembly; both the plastic cam and the cam washer will probably come out as one part. Then you can take out the rotary ball itself. Look it over to see if it needs to be replaced. If it’s damaged, it should be replaced. If it’s plastic, it may not last longer than a year, and you should probably go ahead and replace it now to save yourself time down the road.
Then there’s the faucet body to attend to. Be aware that this could take some time. You’ll need your screwdriver to take out every rubber seat in the faucet body. Then to remove all the springs inside, you will again use your screwdriver; you may have to carefully twist in order to get the springs free. Next are the O-rings. Take off the spout and get rid of the O-rings, cutting them loose with the knife if you have to.
Then you can line the inside of the faucet with silicone grease and put in new O-rings. Don’t apply too much grease. Then you can put in the new springs and rubber seats. The springs have to go in first, and you can finish off securing these and the seats by pressing with your fingers. Then the ball can go back in, with its tab slotting into a notch in the faucet body. Then you can screw the cam assembly and the cap back in place put the handle back in, and tighten the setscrew. Your faucet should be ready to go!
No Problem Too Great or Too Small for Our Kansas City Plumbers
If the repair work didn’t do the trick, or if you don’t have the time to address this money-draining issue, then you can rely on the fast and friendly service our team can provide. Whatever plumbing difficulties you face, do not hesitate to call A-1 Sewer & Septic Service, Inc. We even offer emergency service on the weekends or in the evening. Learn how a team of expert plumbing technicians with over 45 years’ experience can help you when you schedule service today!